mj-crabtree.github.io
Deploying a Python Automation on Google Cloud Platform
This tutorial explains how to deploy an automation to process contacts files with Google Cloud Run and Google Cloud Storage.
Creating a Google Cloud Project
Head to console.cloud.google.com and create a new project.
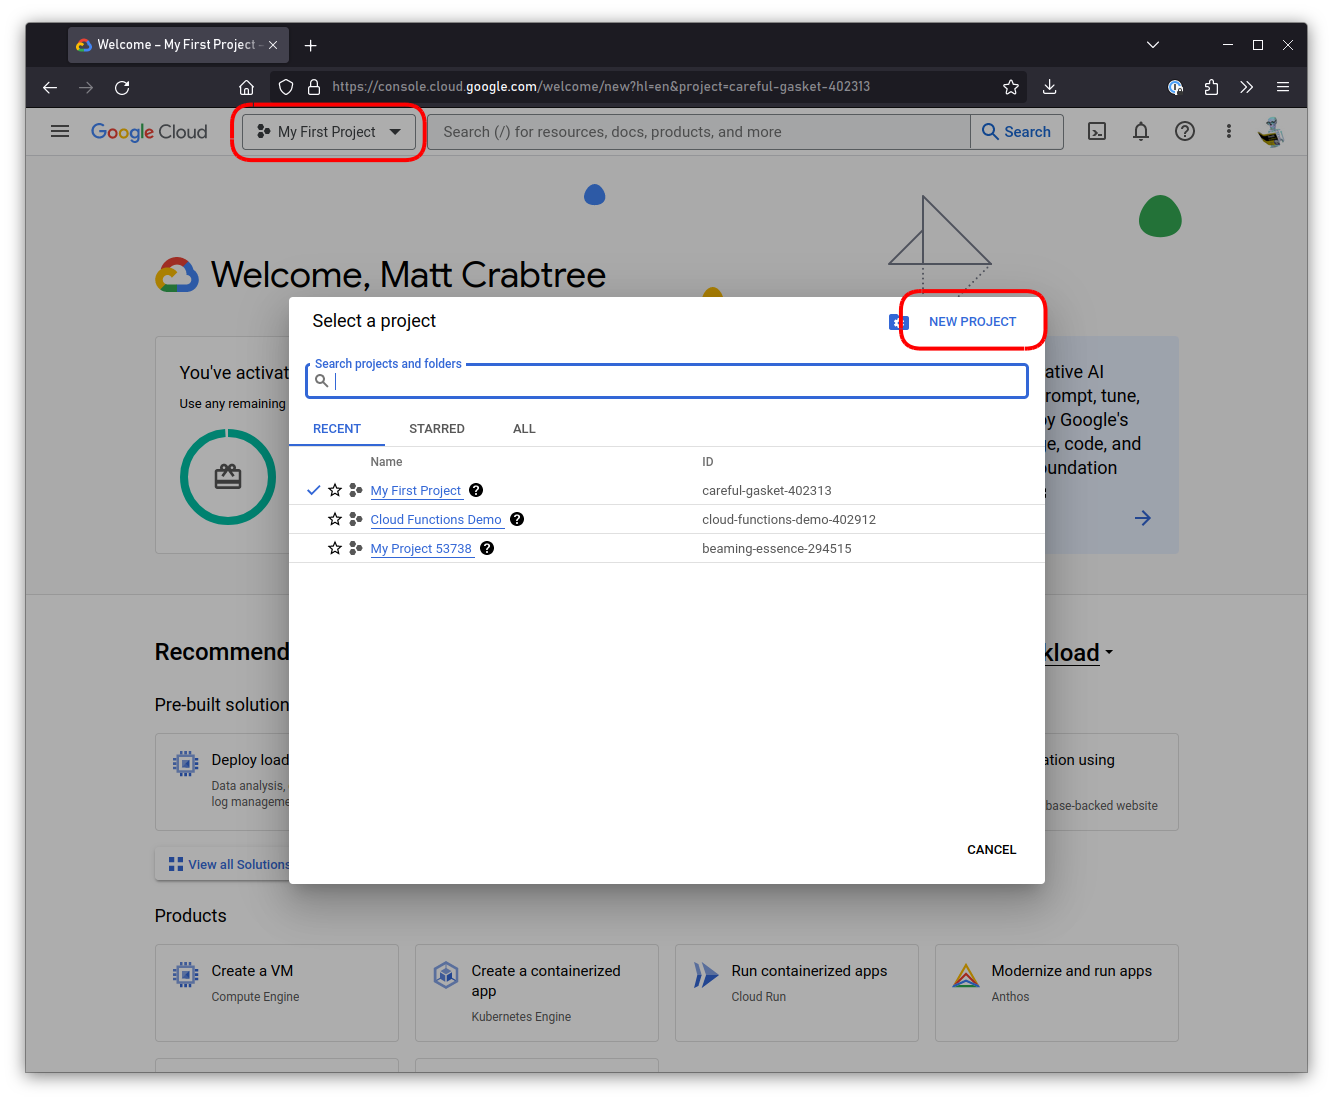
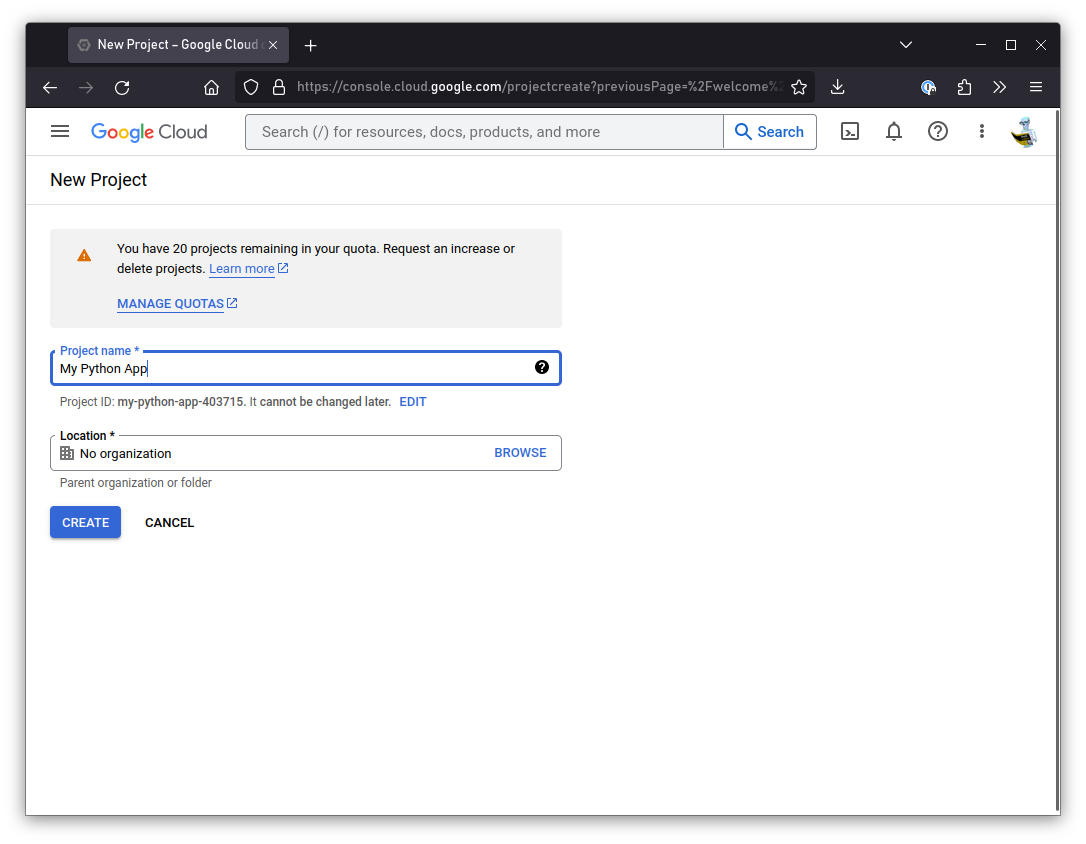
Give your project some meaningful name.
Once the workspace has been built, click SELECT PROJECT.

Creating two Google Cloud Storage Bucket
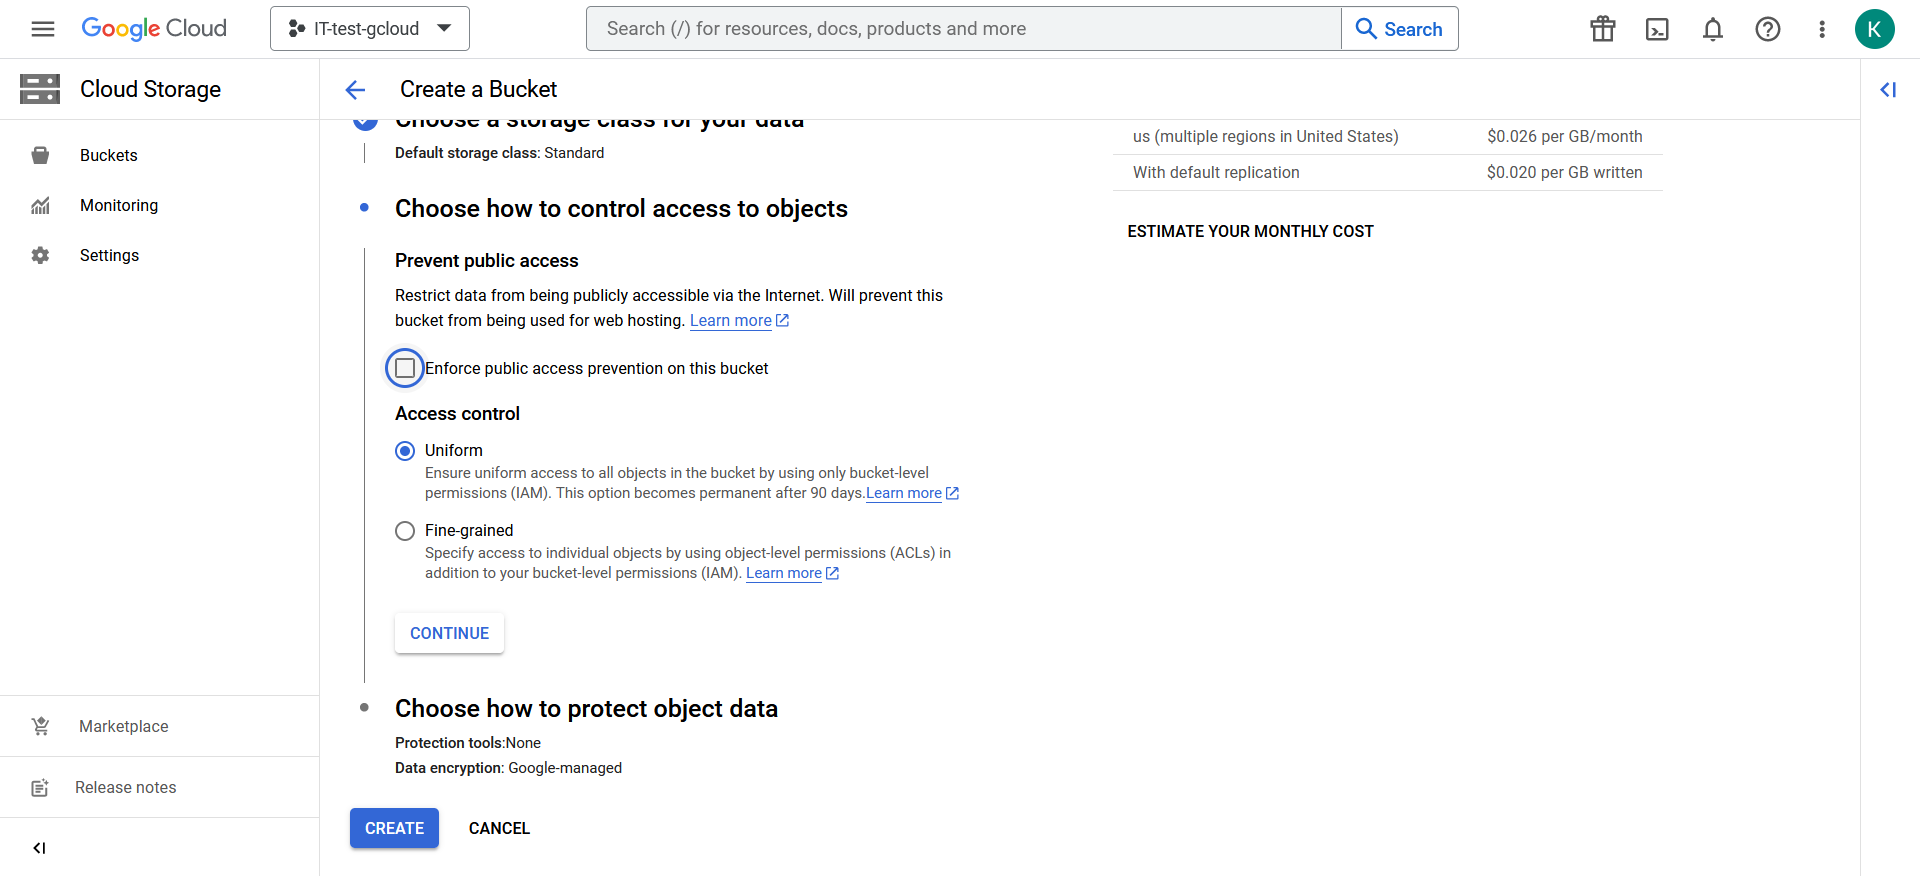
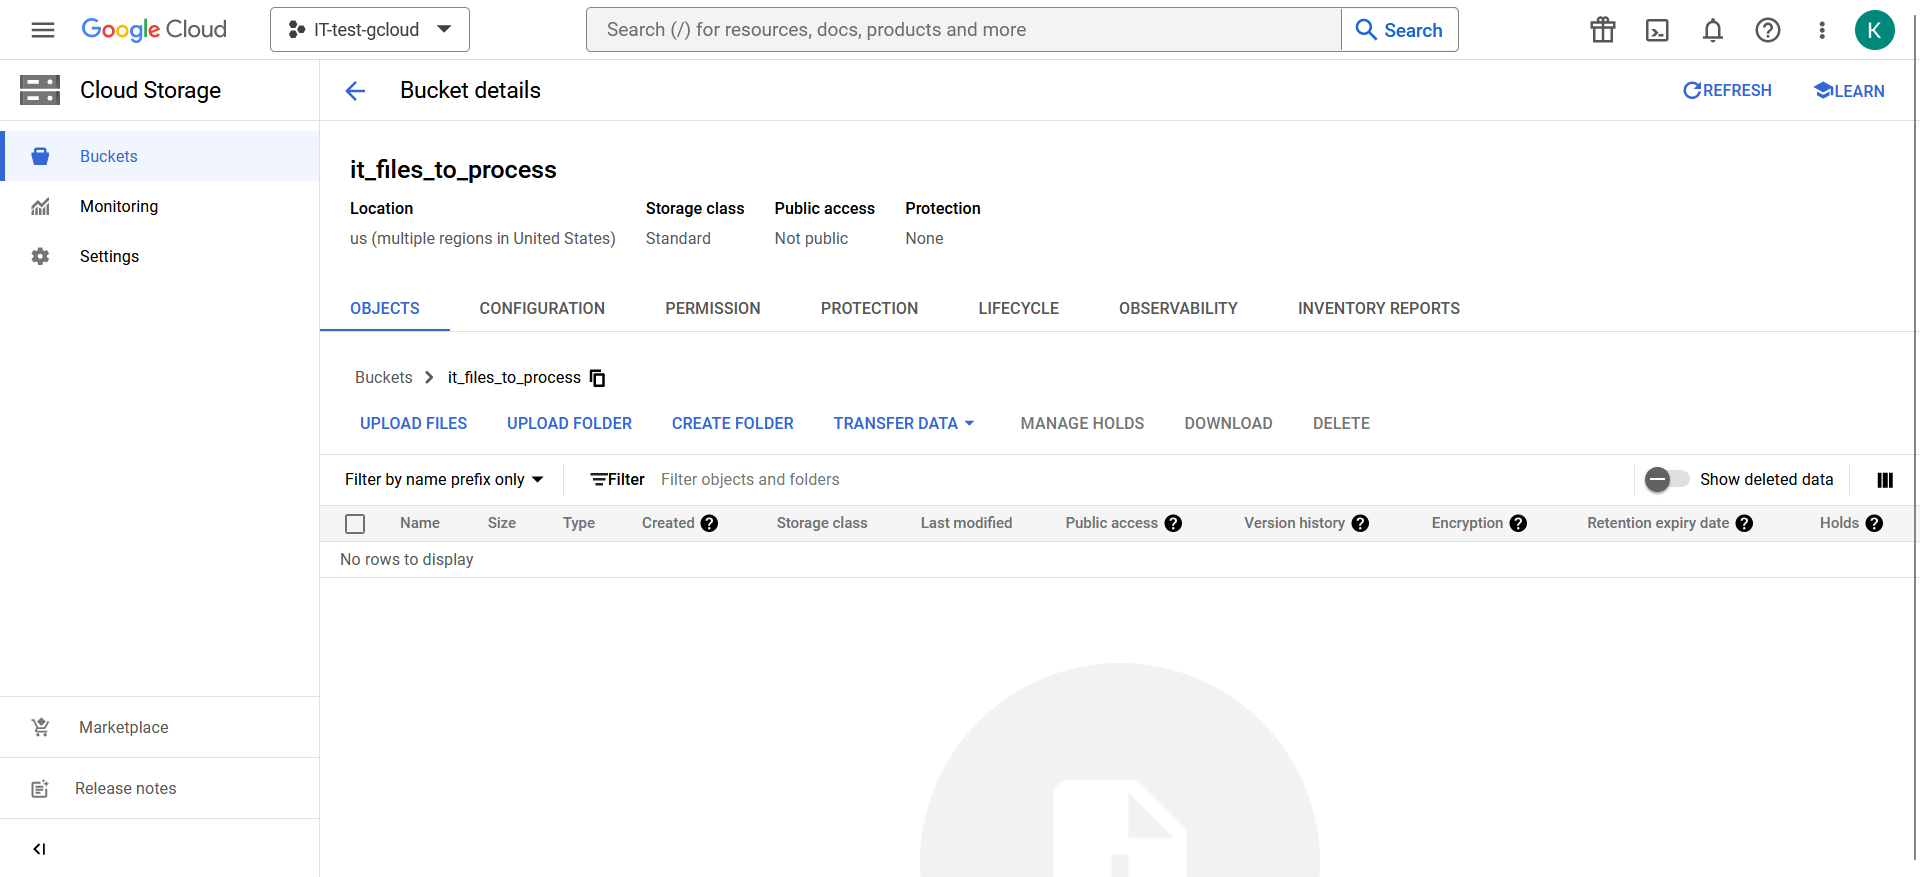
Once the project has been selected, use the search bar to find and select Cloud Storage - Buckets Click on ‘CREATE’.

Select a name for your bucket (for example ‘cleaned-contacts’) and then follow the steps (you can leave most default values). For the final bucket where you want the cleaned contacts file to stay, you should uncheck ‘Enforce public access prevention on this bucket’. Complete the creation.
Repeat steps 1 and 2 to create the initial bucket, that we called ‘it-files-to-process’. You do not have to uncheck the prevention against public access, you can leave all default values.
Note: this workflow assumes you’ve installed the Cloud CLI for your platform: https://cloud.google.com/sdk/docs/install-sdk
In a new terminal window, type the following command:
$ gcloud init
Note: If this is the first time you’ve used the Google Cloud CLI, you will be asked to authenticate with your Google Account. This is best performed alongside a browser with any ad-blockers disabled.
When prompted, choose Re-initialize this configuration [default] with new settings. Choose to use the Google account associated with Google Cloud Platform.
Finally, select the project you just created in order to use it with GCP CLI.
Creating the Google Cloud Run Service
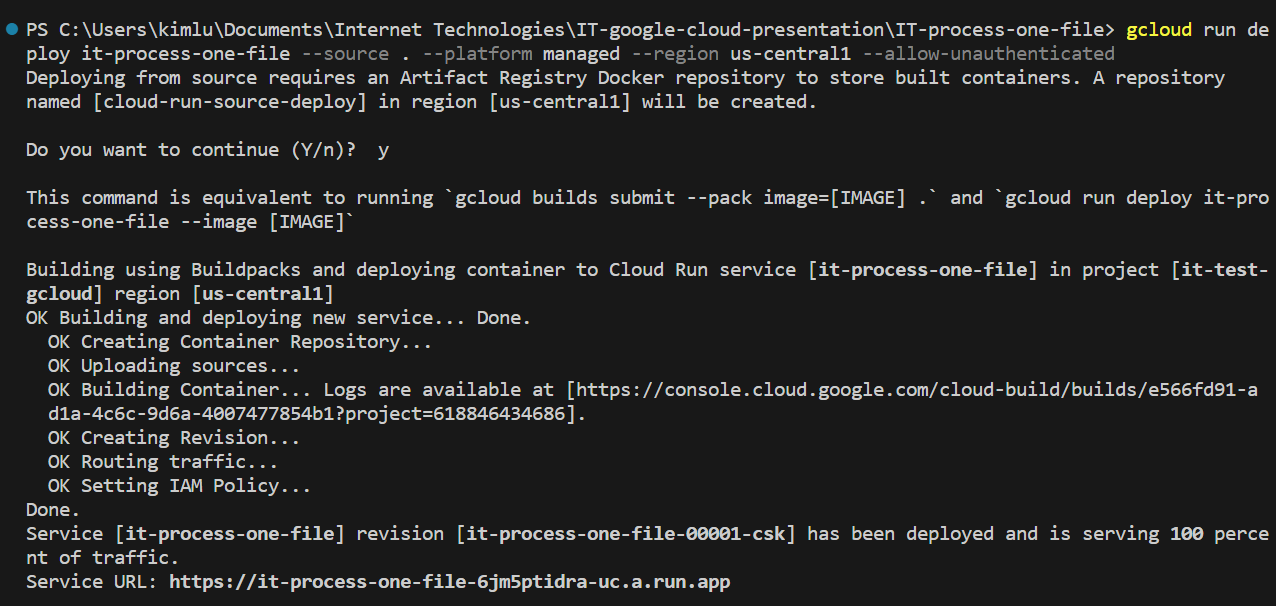
Now we will create the Cloud Run service. Download or clone this repository locally, and then navigate to the folder it-process-one-file.
Execute the command gcloud run deploy it-process-one-file --source . --platform managed --region us --allow-unauthenticated. Wait for the deployment to be effective.
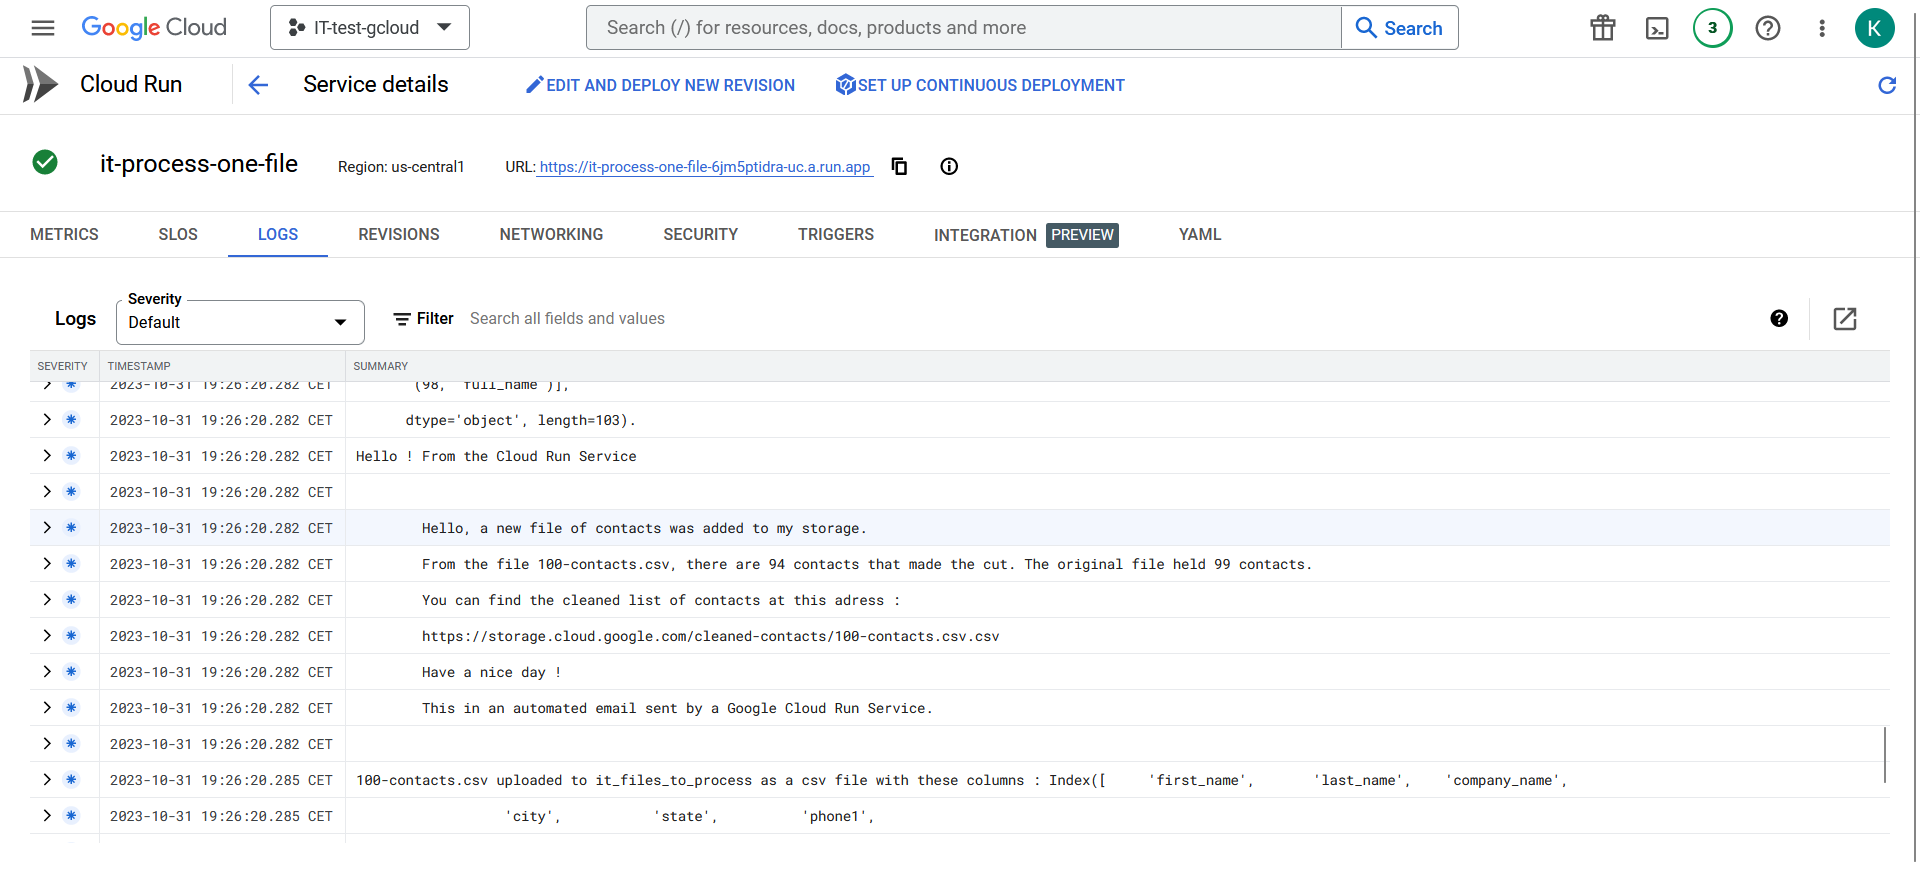
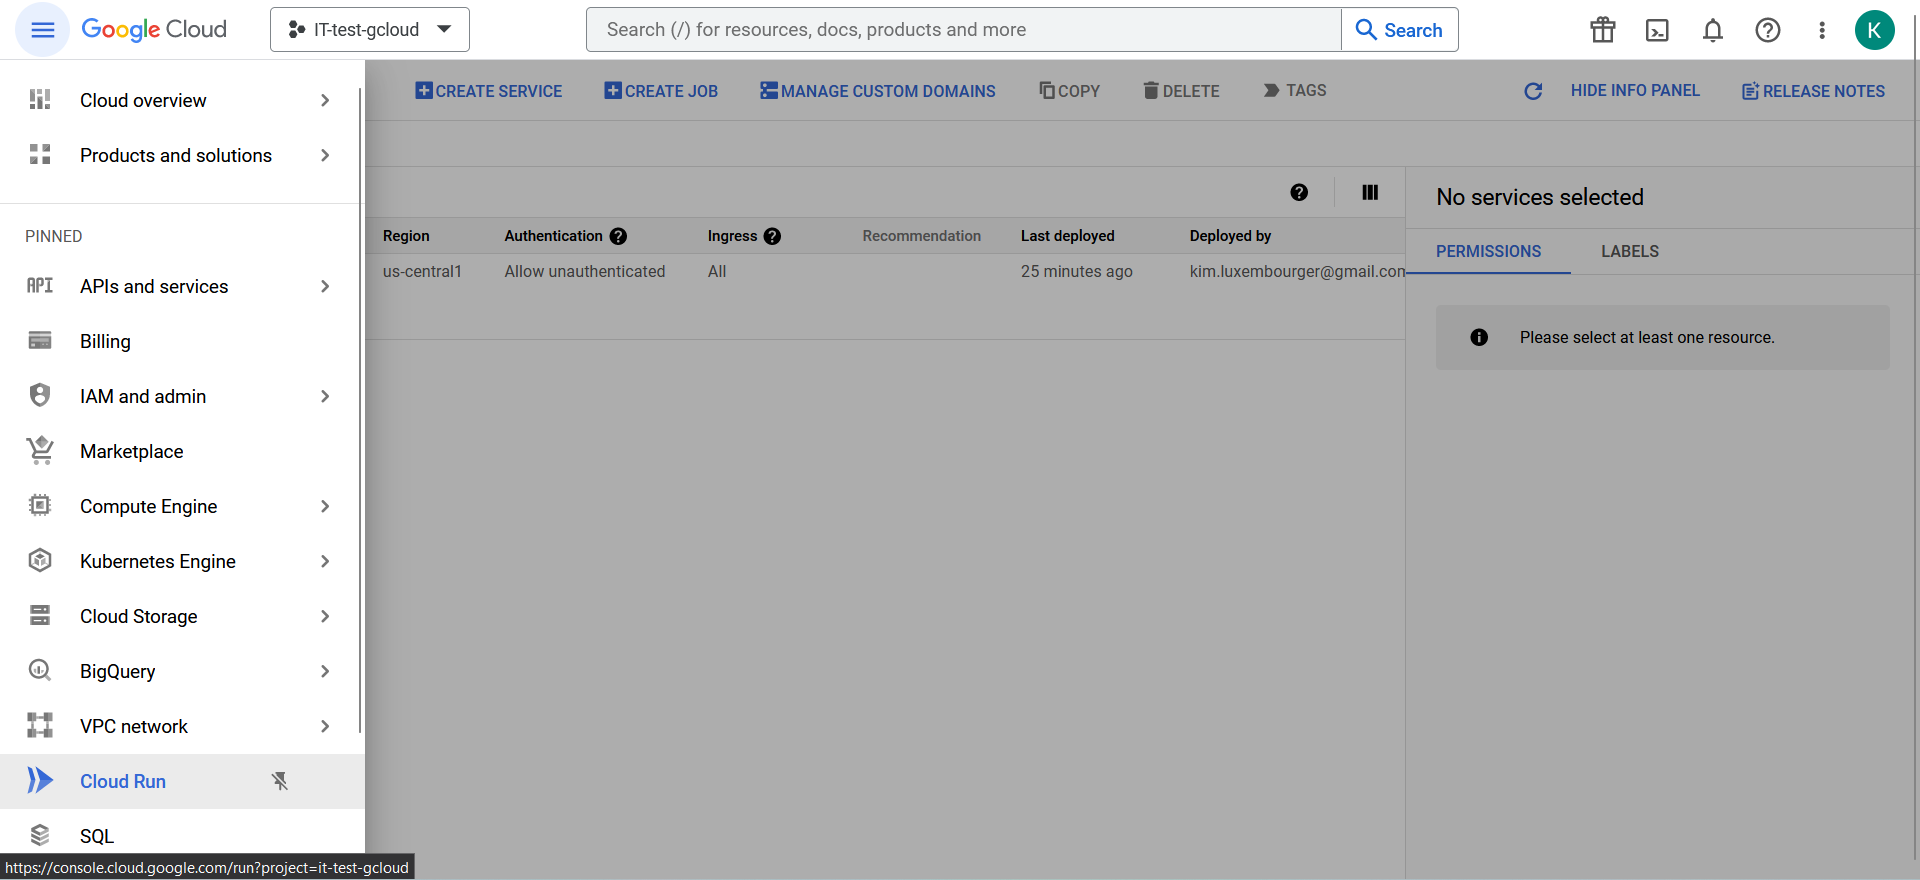
Now we will implement the automatic start of the service, from the Google Cloud interface. From the menu, navigate to Cloud Run : you should see your newly deployed service.
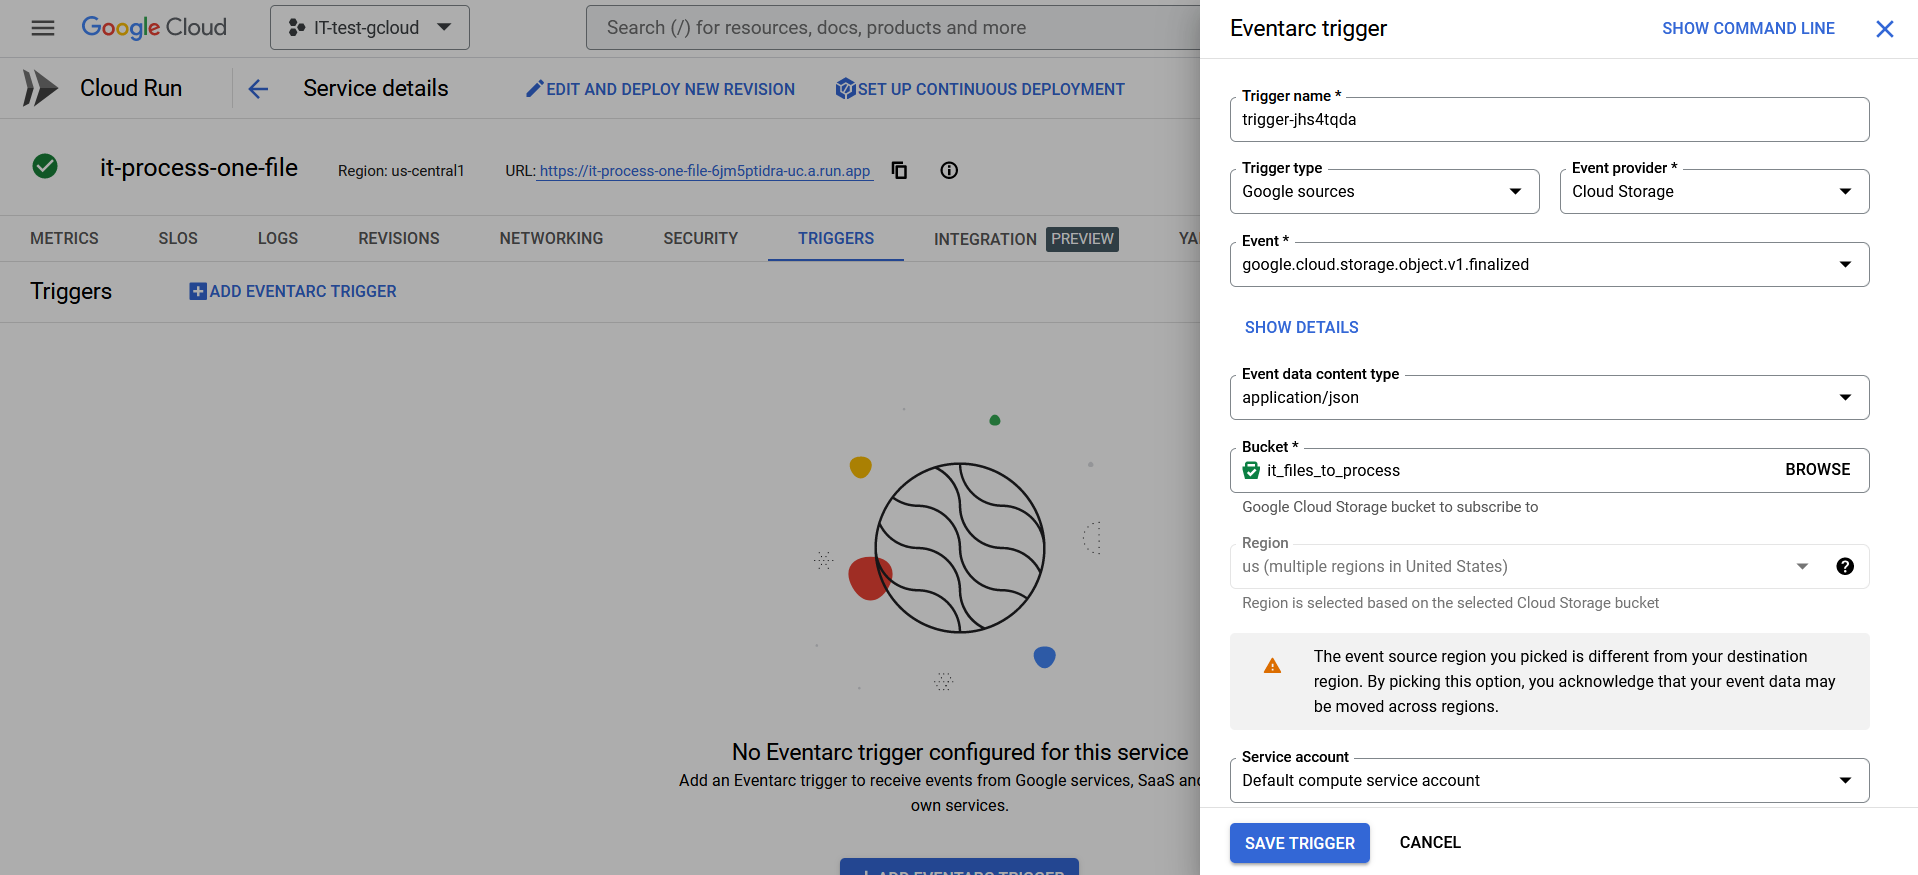
Click on the service, go to the Triggers tab and select ‘Add an Eventarc trigger’. If needed, enable the Eventarc API.
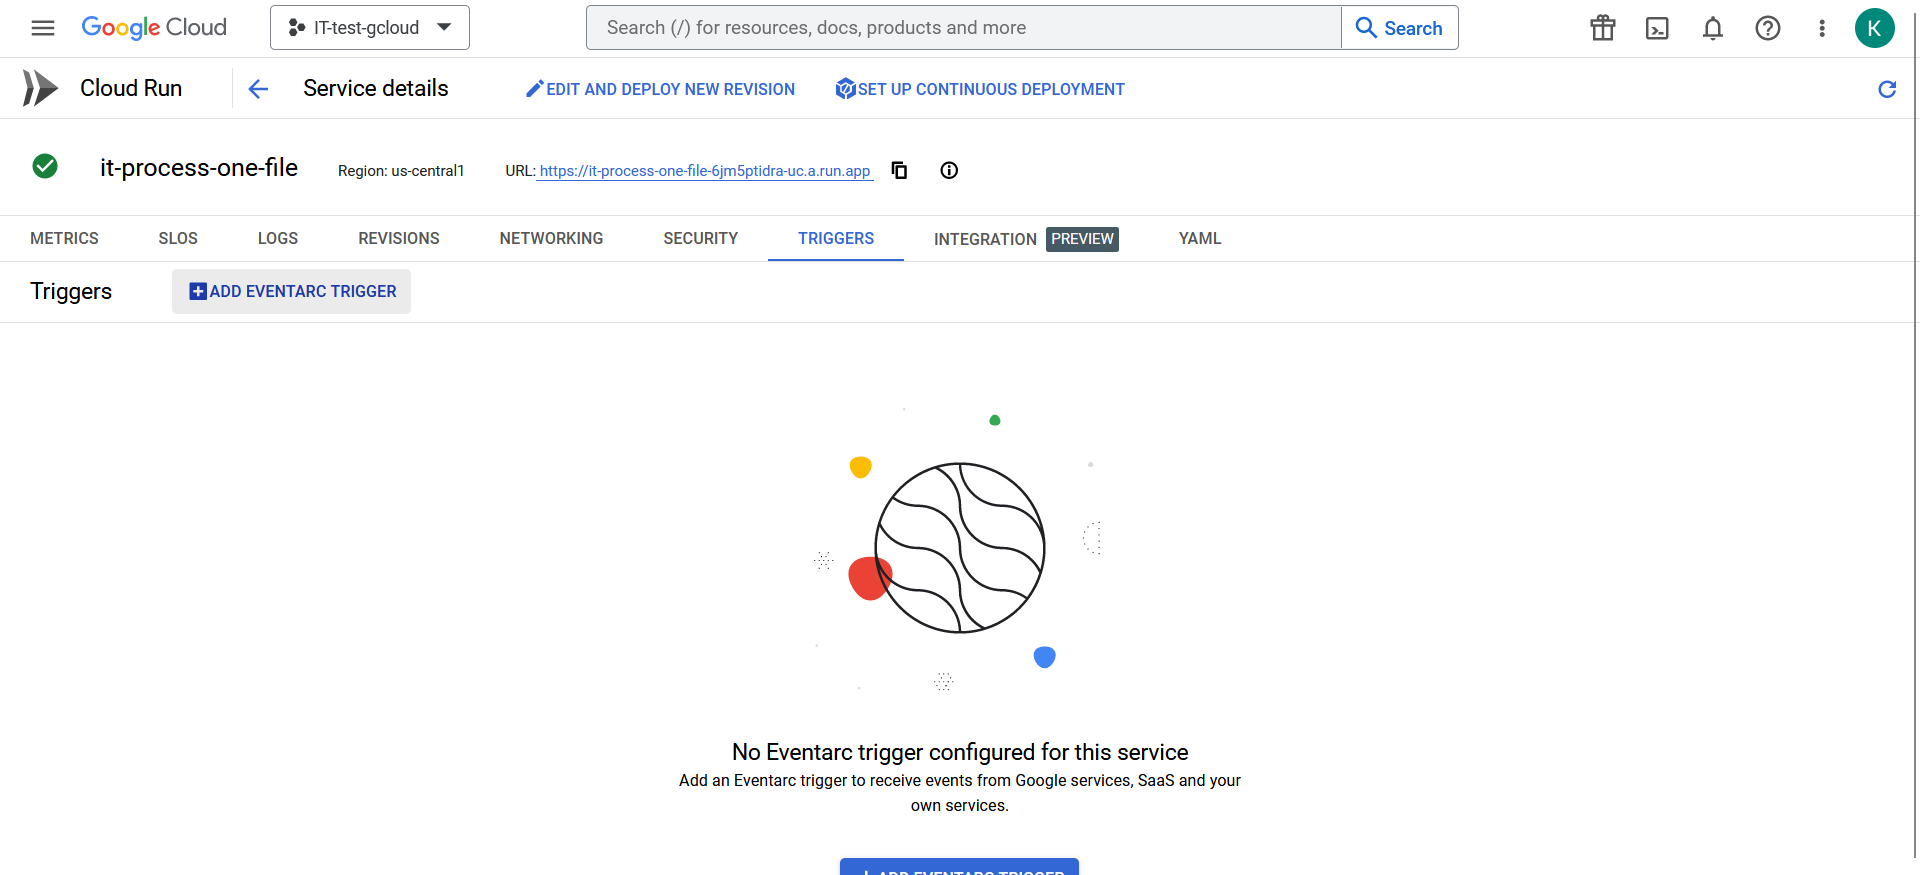
Change the name of the trigger if you want, select ‘Cloud Storage’ as a provider of the event and ‘event finalized’ as the event. Select the bucket it-files-to-process. Grant the necessary authorizations. Save the trigger.
Test and use !
-
Download the sample contacts CSV file from : https://letterhub.com/wp-content/uploads/2018/03/100-contacts.csv
-
Modify it a little if you want to test the service properly (for example delete some emails, make some of them invalid etc…)
-
To test your service, just upload the CSV file into the ‘IT-files-to-process’ bucket.
-
Follow the progression in logs.